


Mandy Alzner
Pin it:
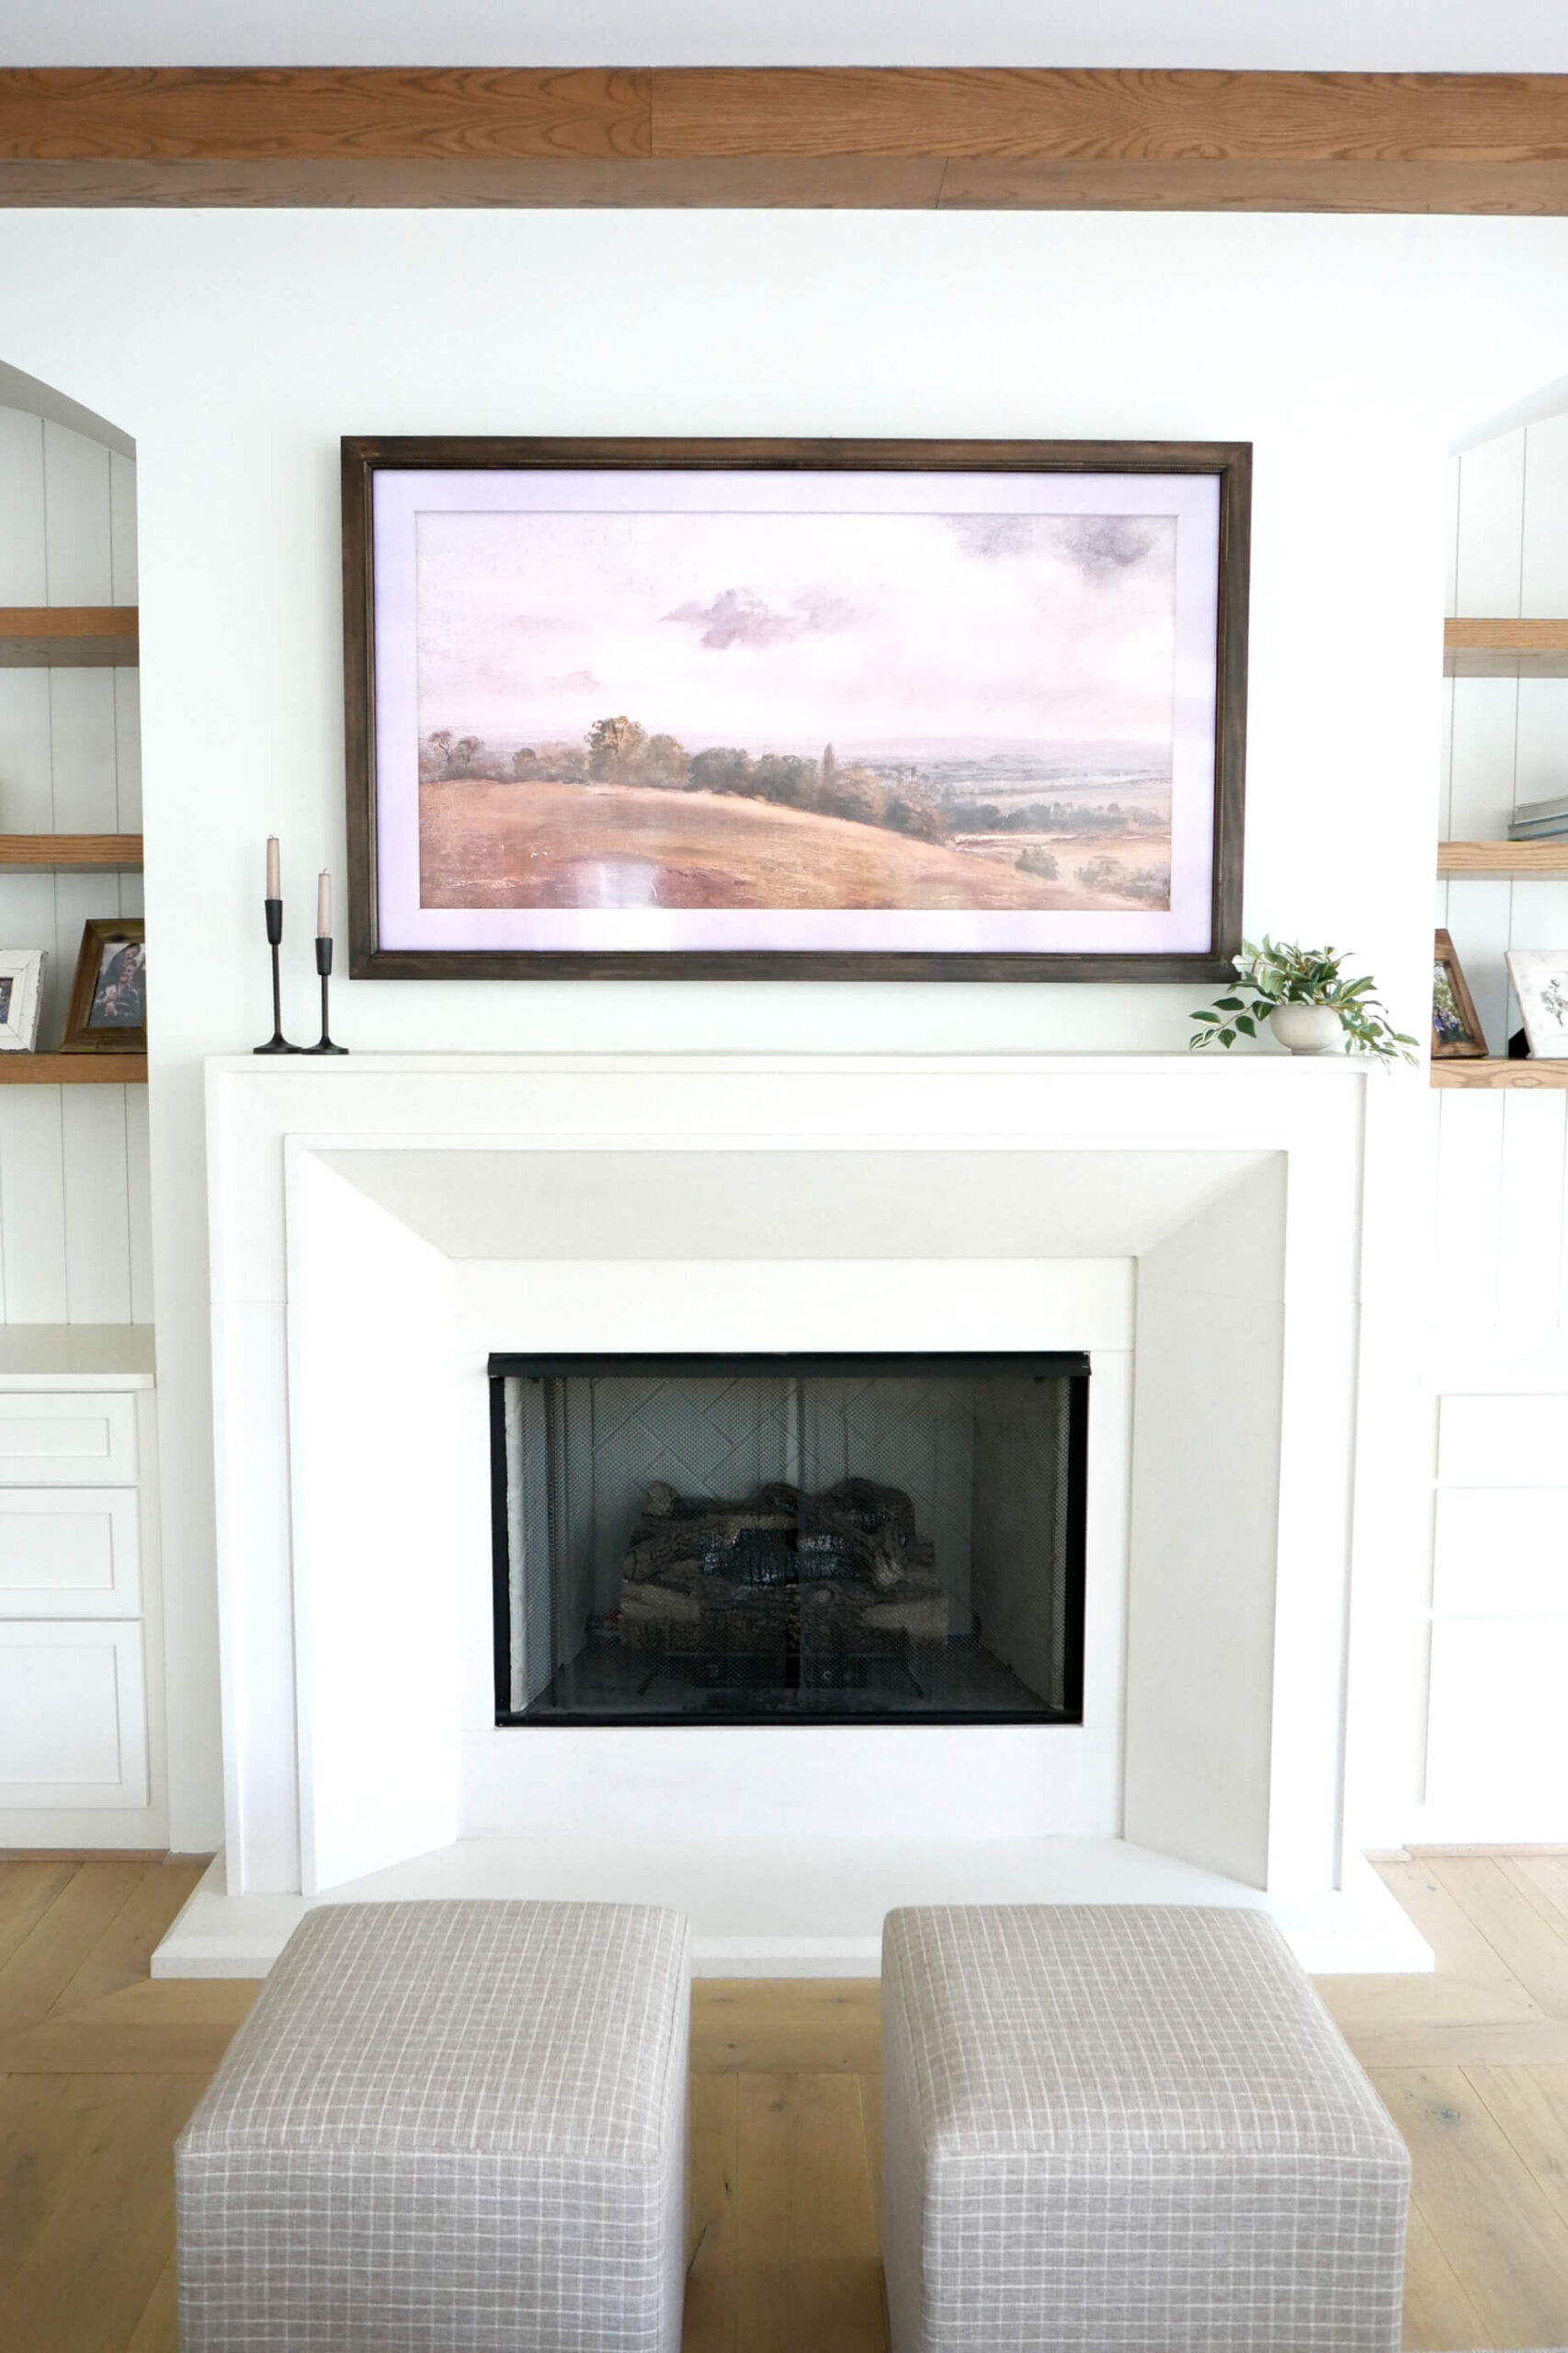
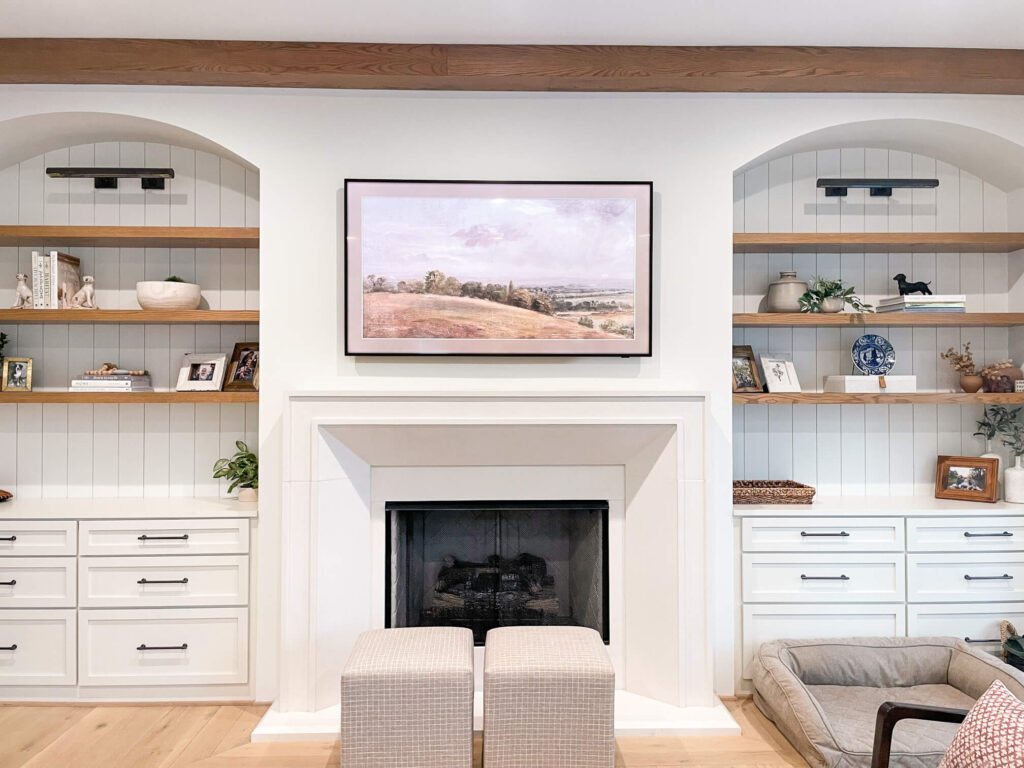
When I was designing our living room I really wanted to create a space that was both warm and inviting, but still sophisticated. I decided a “showpiece” wall would be the prefect space to bring in some interest and design elements, without the room feeling too staged and stuffy.
The centerpiece of the wall is a big mantle from Stone Mountain Castings, which I flanked on either side with built ins. I added some tongue and groove detailing behind the open shelving, which is stained to match the exposed beams, topped off with a gentle arch to frame each built in.
In a perfect world would I have put a big ugly TV right above my beautiful stone mantel?….No, no I wouldn’t! I would’ve put a gorgeous painting to bring some color and dimension into the room. However, we do not live in a show home, so the most logical place for a TV is smack dab in the middle of my beautiful “showpiece” wall.
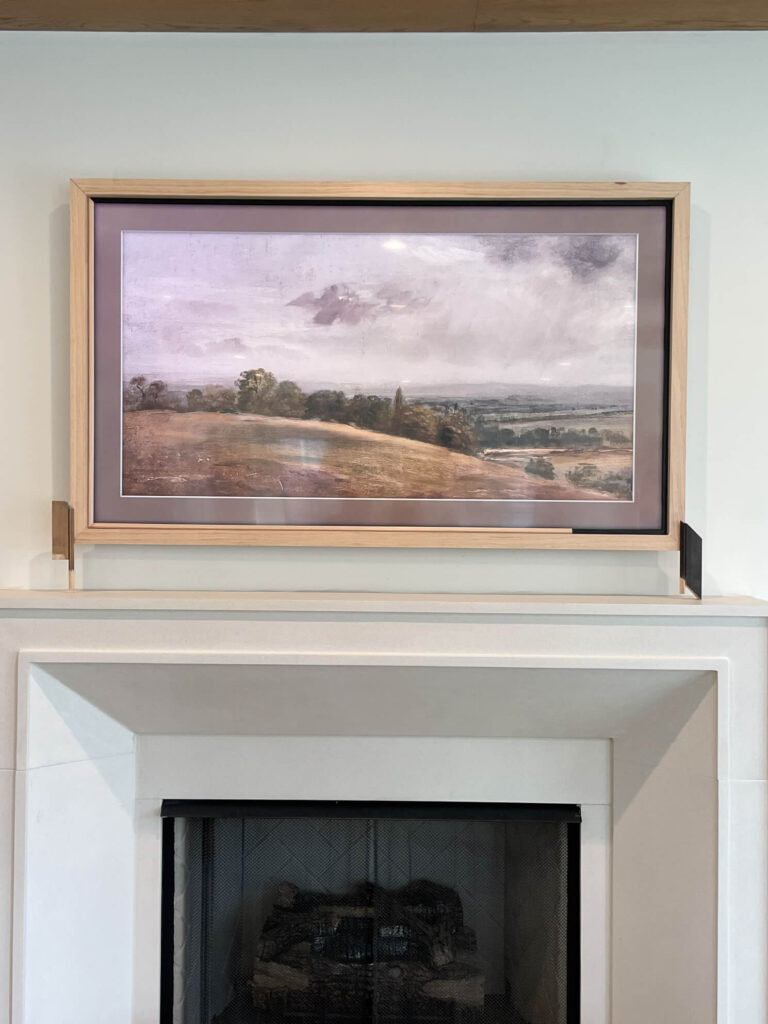
This is where the Samsung Frame TV comes in. They are designed to sit flush against the wall and come programmed with a catalogue of interchangeable art that turns on when the TV is off to mimic a painting. HOWEVER, the Frame TV does not come with a FRAME…crazy, I know!! Samsung does sell frames that are super easy to snap on to the outside of the TV, but they are expensive, and don’t suit the style of our home. There are also a couple other retailers out there that sell compatible frames, but again they are very expensive, and not my taste.
So I made my own! It was easy and inexpensive compared to the alternatives, and I think it adds a nice design detail to what was otherwise an eyesore.
*I should also note, you DO NOT need a Samsung Frame TV to build this frame! As long as you have a smart TV, you can log onto YouTube and search TV wall art and you’ll find tons of options that will run continuously for hours!*
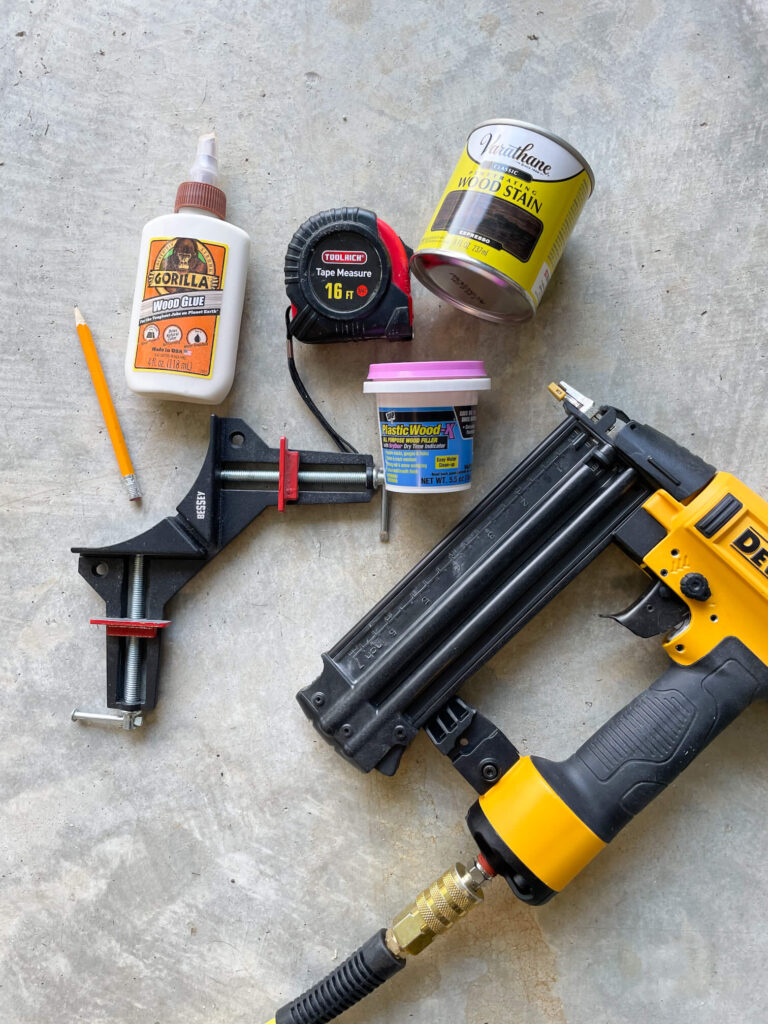
Materials & Tools Used for DIY TV Frame
Before you get started, here’s a list of everything I used:
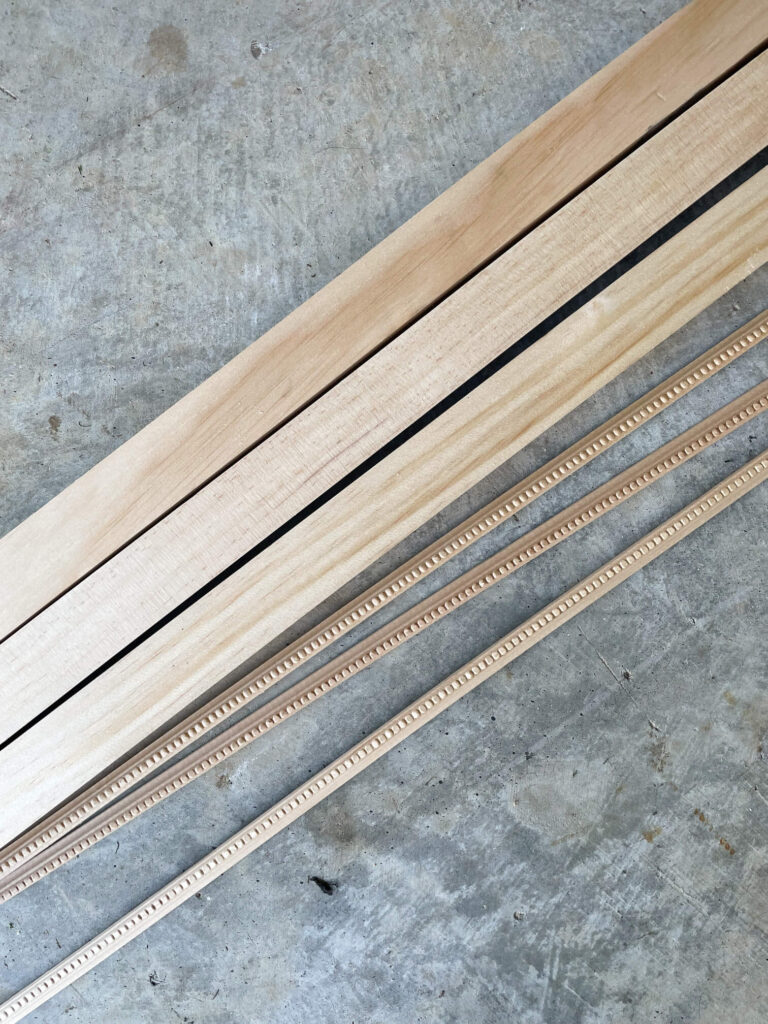
- 3 qty of 2x2x8ft common board
- 5 qty of wood ornamental moulding
- Mitre saw (you could use a mitre box and saw, or just butt your corner joints together)
- Nail gun (you could just hammer in some small finishing nails)
- Wood glue
- Corner clamp
- Wood filler
- Sandpaper (100 grit and 220 grit)
- Stain or paint (with a brush or rag)
- Clear coat (with a brush)
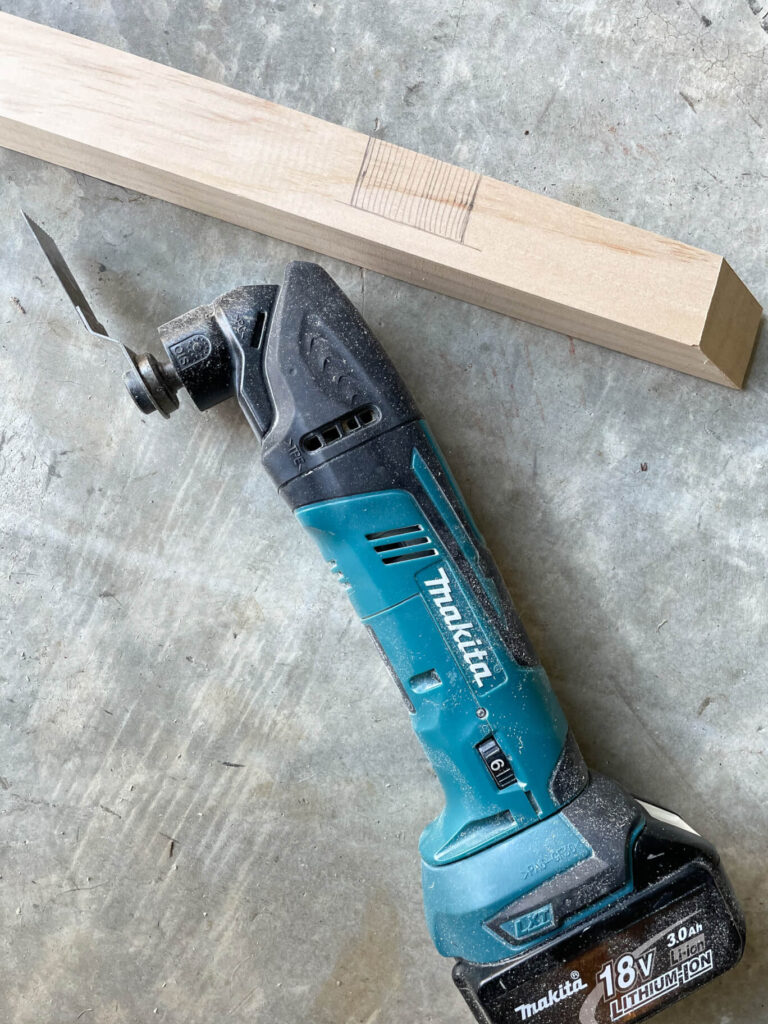
*I also discovered later that I needed a multi tool to cut out a notch for the sensor under the TV, but luckily I had that at home. You could use a chisel to cut out a small notch if you don’t have a multi tool for the job.*
TV Frame Building Instructions
- First you need to measure the outside length and height of your TV to know how much wood you’ll need. Add an additional 1/8th of an inch to each measurement to ensure the frame box you build fits snugly around the TV, but isn’t too tight. You can always trim some wood off, but it’s significantly harder to add it back on!
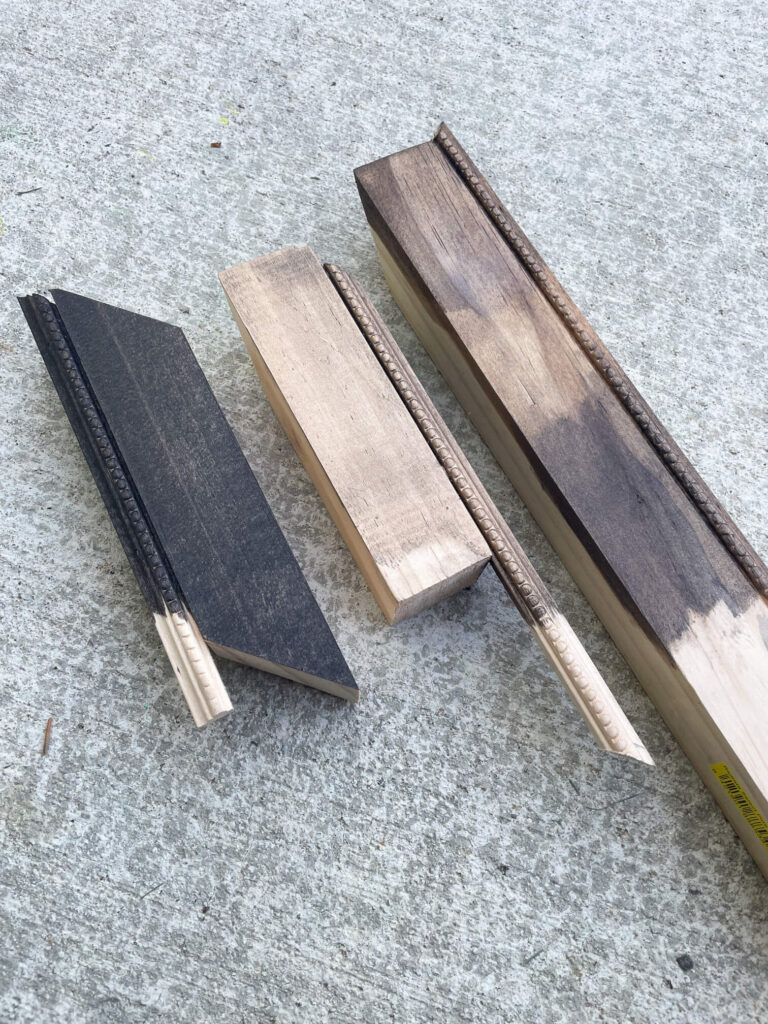
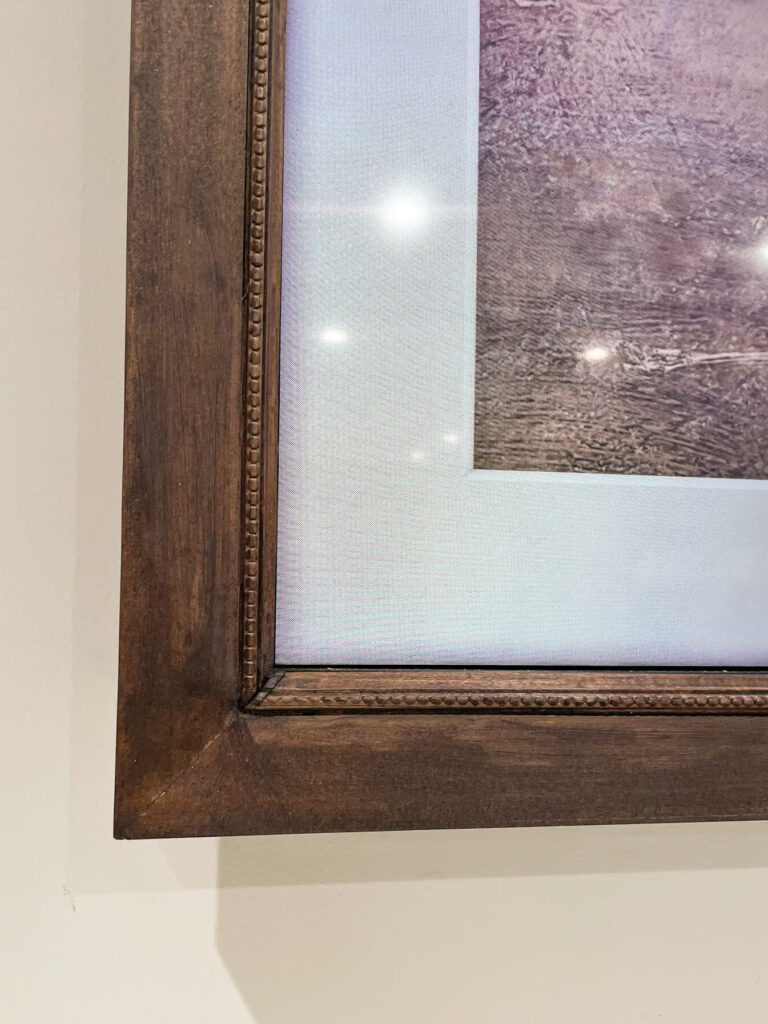
- Now decide on your style, do you want sleek and simple or something with a little more interest? I wanted a chunkier outer frame with a little detail along the inside to cover the black trim of the TV. Once you have a good idea what you’re going for, head to the store to buy your materials.
- Now that you have everything you need, better measure the TV again just to be sure! Add that extra 1/8th of an inch and start making your mitre cuts, keeping in mind the proper direction of angles in order to form 90 degree corners.

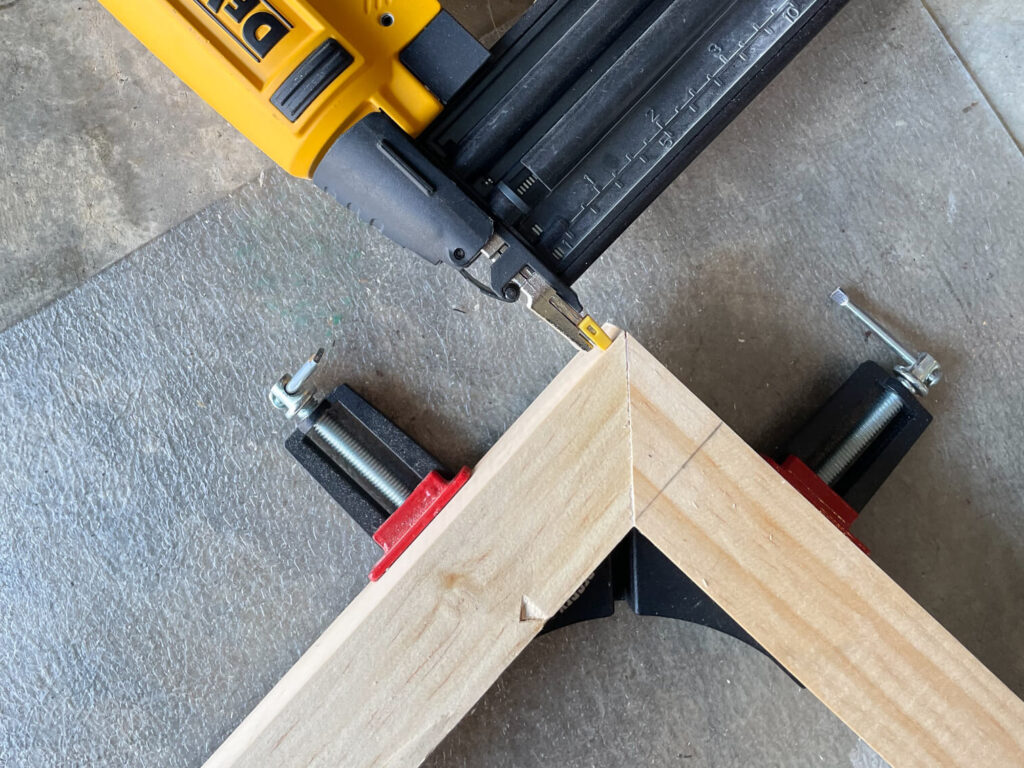
- Once you have your pieces cut, you can begin assembling your frame box. Start with one corner at a time to keep everything square. Add some wood glue to the inside of the corner and clamp it together using the corner clamp. You can use a damp cloth to wipe off an excess glue that seeps out of the joint.
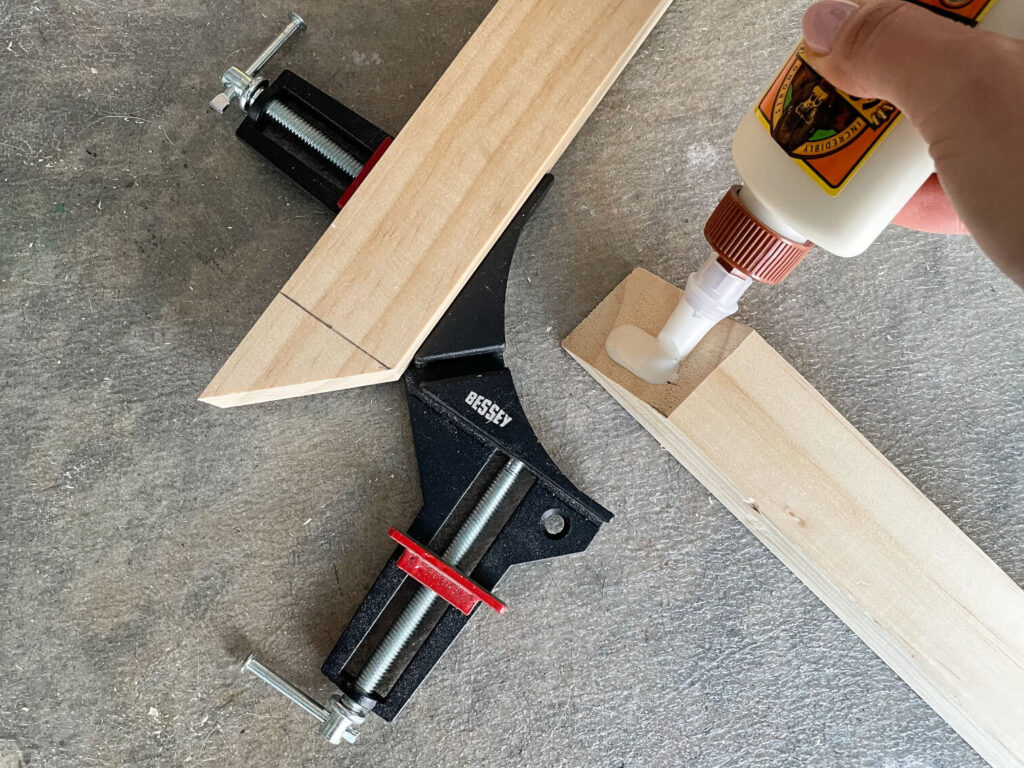
- Using your nail gun, or hammer, add a couple nails from either side of the mitre joint to keep everything secure. Let the glue cure for a while before moving on.
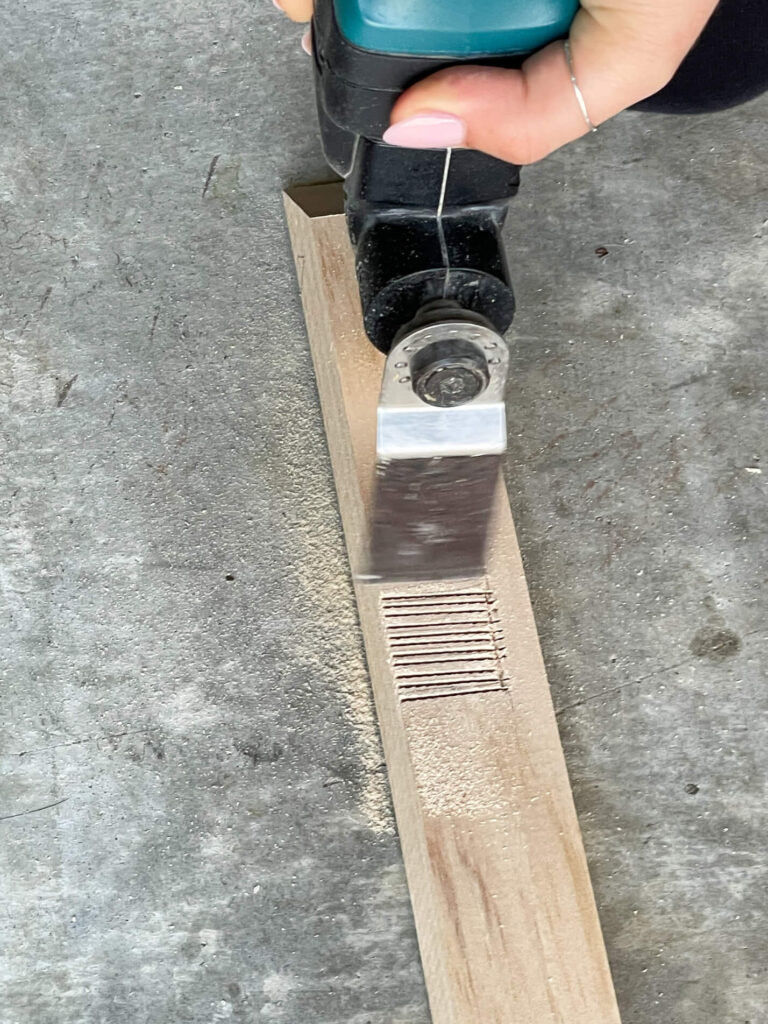
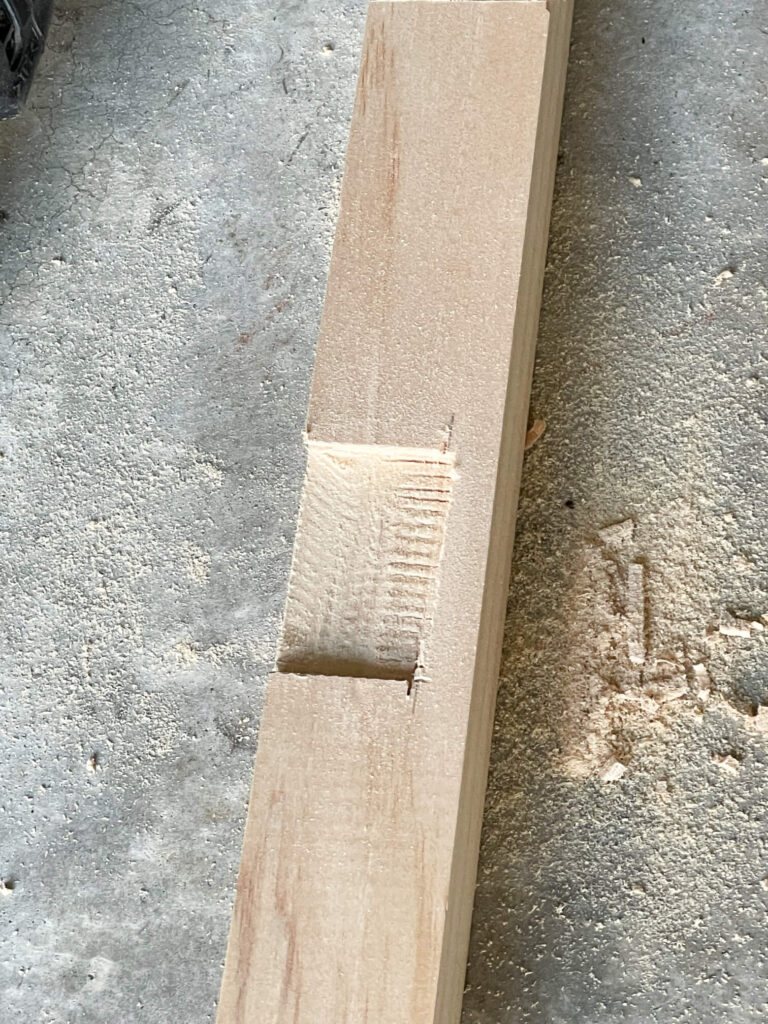
- This is when I discovered I needed to cut out a notch for the sensor on the bottom of the TV. I simply held the cut piece of wood up against the TV, lining up the corners, and marked the outer edges of the sensor as well as how deep the notch needed to be. Next, I traced out the little box that I would be removing with my multi tool. You won’t see the notch from the front of the finished frame so don’t worry about making it perfect, just use your saw or chisel to remove enough wood that the frame will slide on without getting caught on it. Amazingly, the remote still works with a chunky piece of wood directly in front of the sensor!
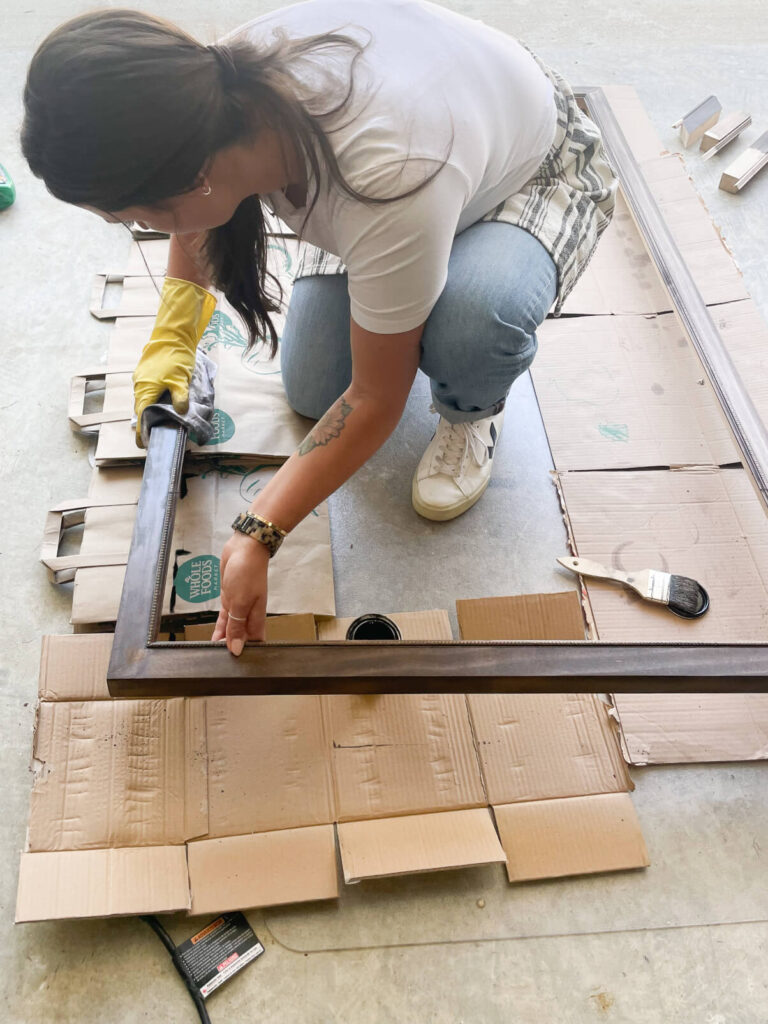
- Now you can proceed with assembling all 4 corners of your frame box. Once you’ve done that, and the glue has dried for a little while, you’re going to want to test fit your frame. You want the frame to slide onto the outside of the TV easily but not be so loose that it could fall off. Mine was a little too snug in one spot because the wood I used was a little warped, so I marked the area and sanded it down with some gritty sandpaper until I was happy with the fit.
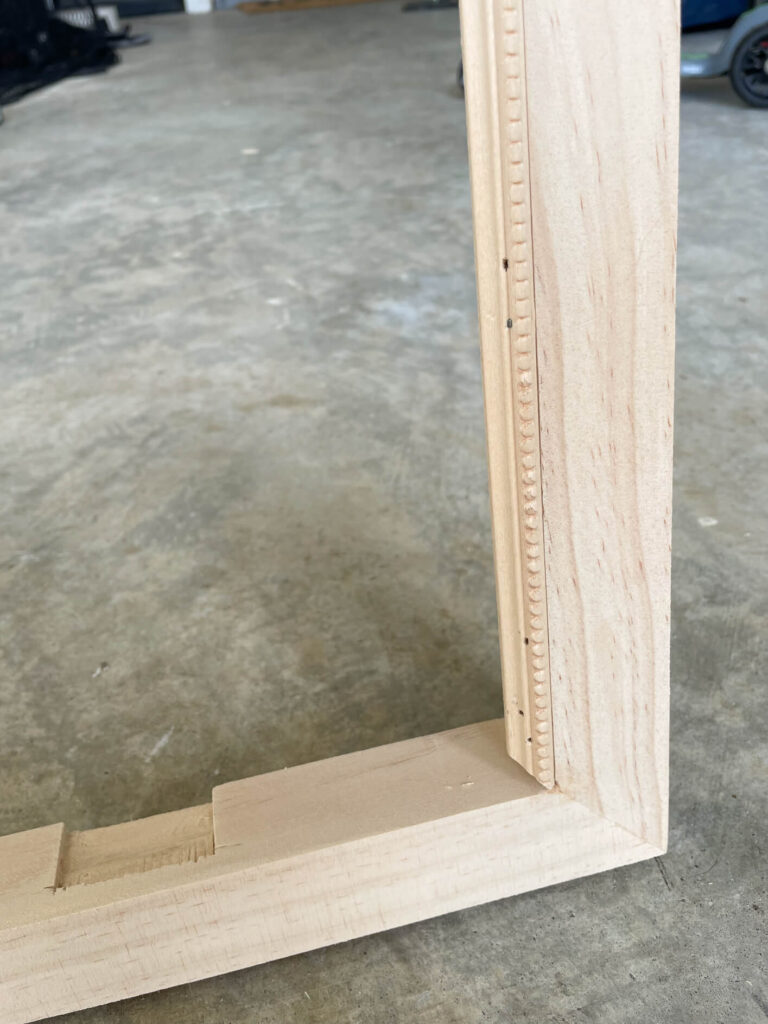
- Now we add the decorative trim! Following the same steps you did to create the box…measure and cut the pieces for the interior trim and attach them using your nail gun or wood glue and a clamp.
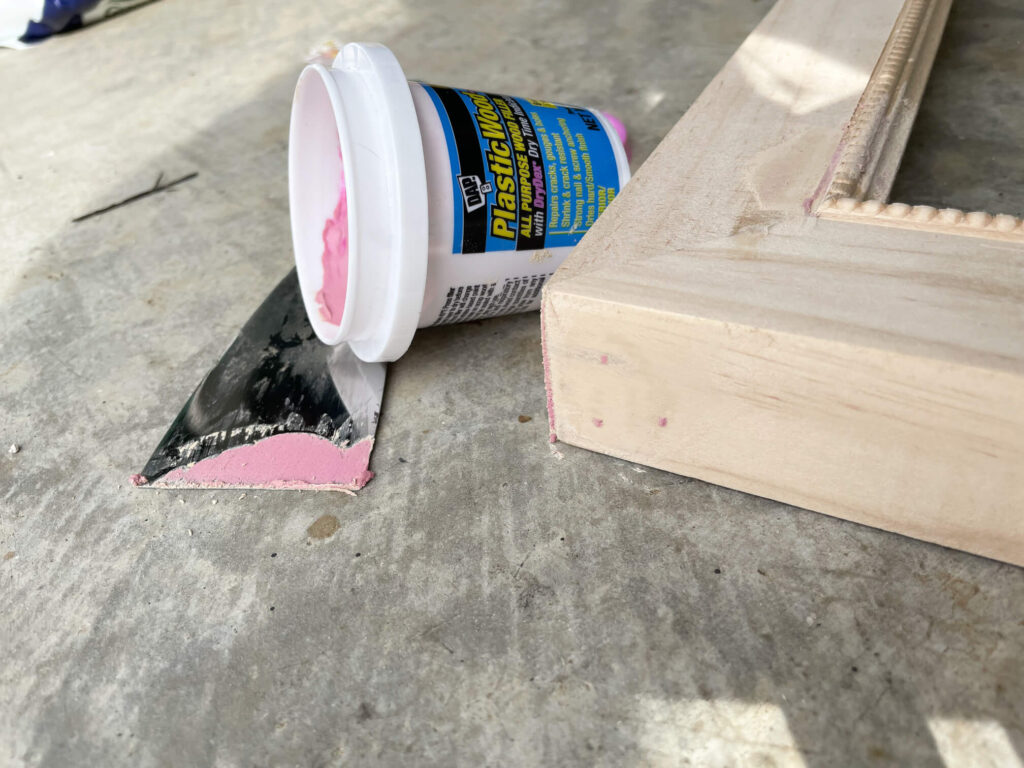
- Fill all your nail holes and any gaps with a bit of wood filler. Try to use as little as possible because you’re going to need to sand all the excess off later.
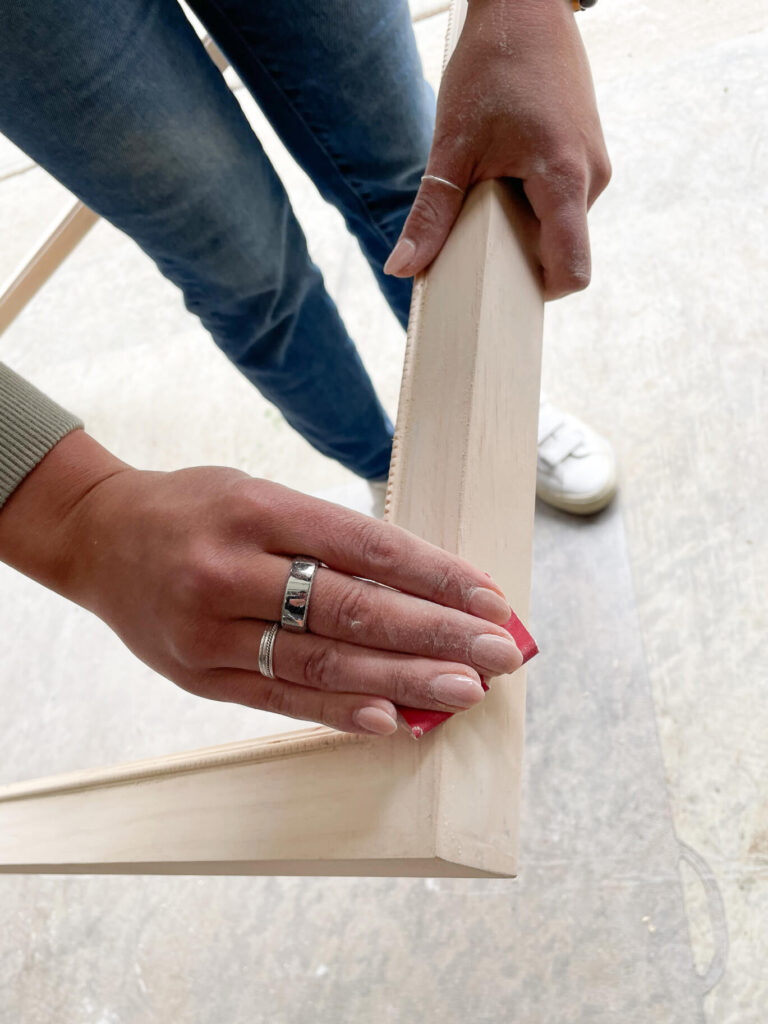
- Once the filler is dry. Use some 100 grit sandpaper to sand the entire frame. Remove any excess glue or wood filler and make sure your corner joints are smooth and seamless. I also sanded down some scrap pieces of wood in order to do a couple stain samples.
- Using a tack or microfiber cloth, remove all the dust and sawdust from the frame before applying your paint or stain. I did a base coat of special walnut stain to pick up all the grain in the wood and then a quick thin top coat of espresso stain. You could also use Rub and Buff for a super cool antique gold frame look!
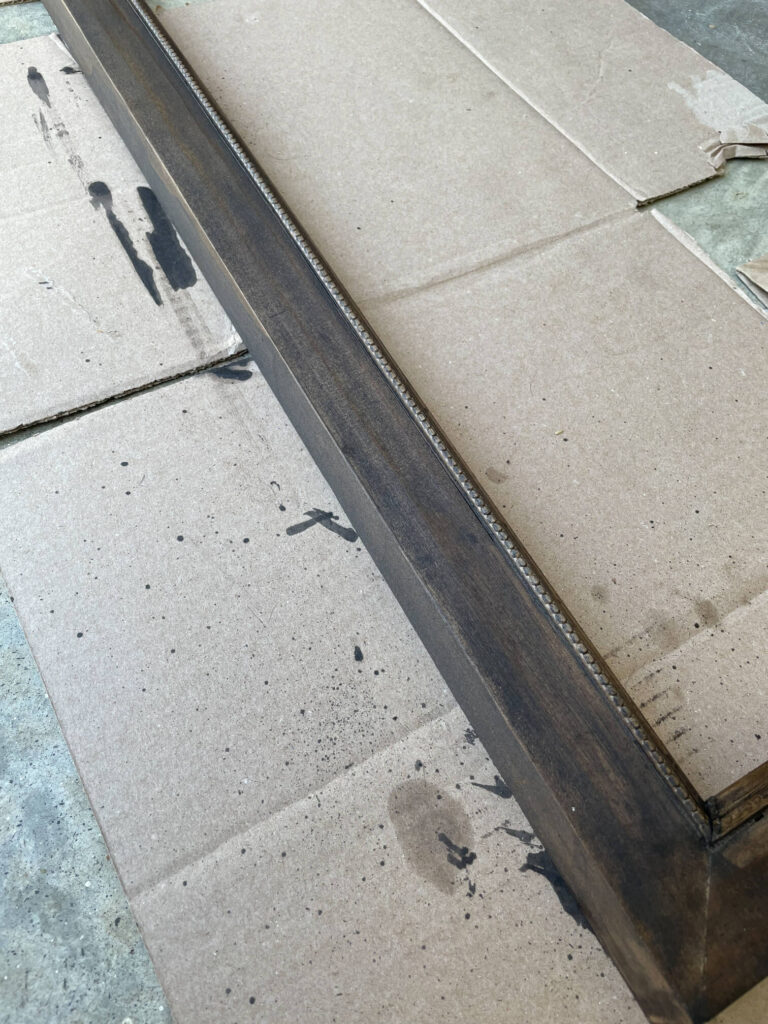
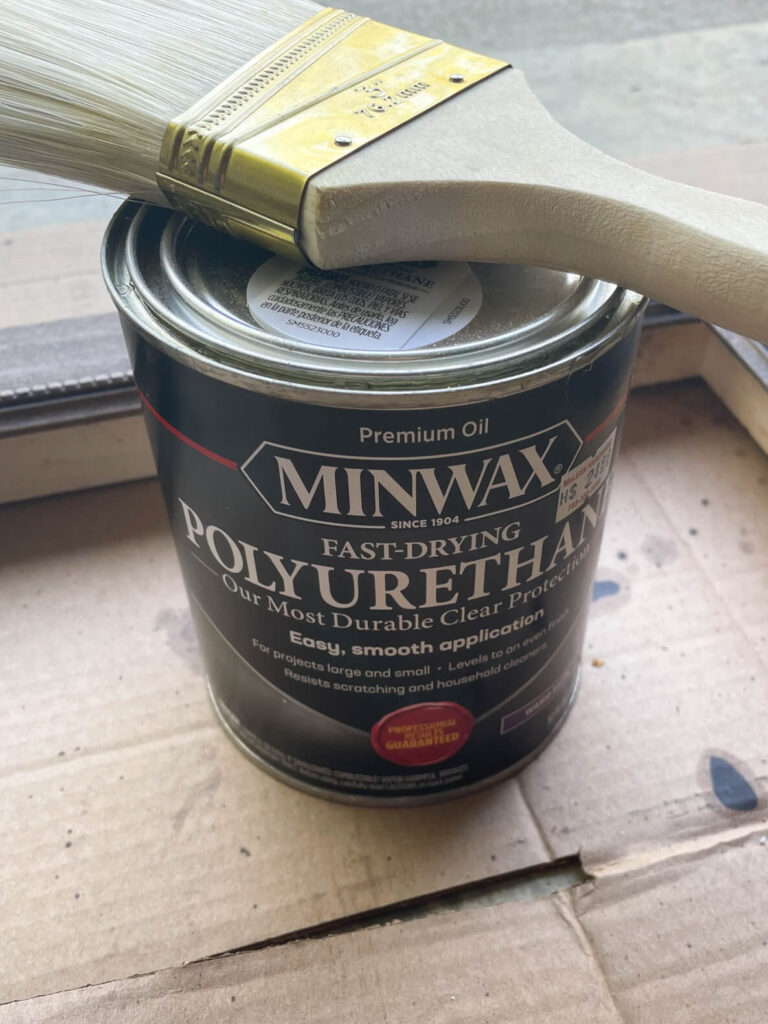
- Once the stain is fully dried, apply a clear coat of polyurethane according to the instructions on the can.
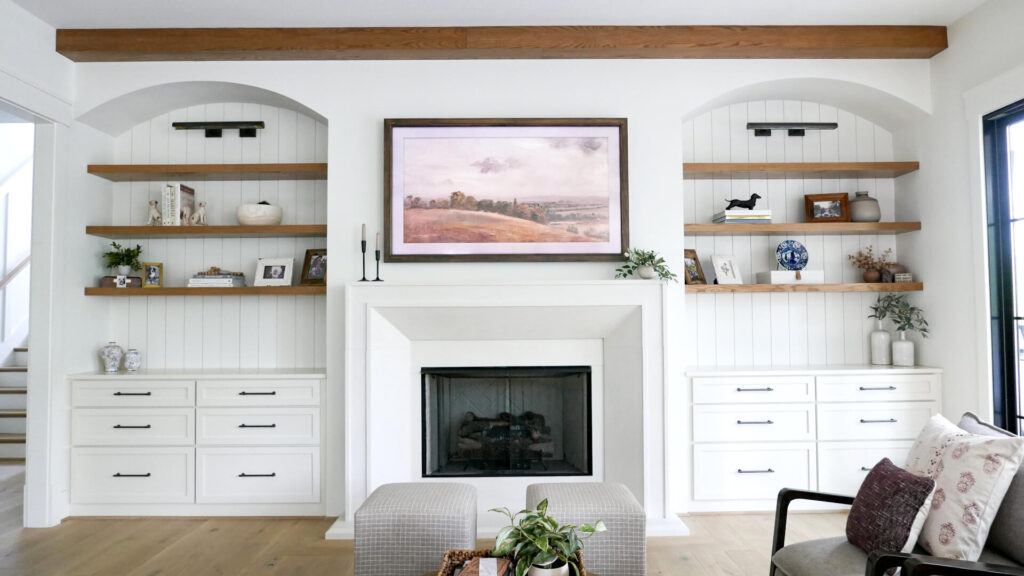
- Install your frame!!
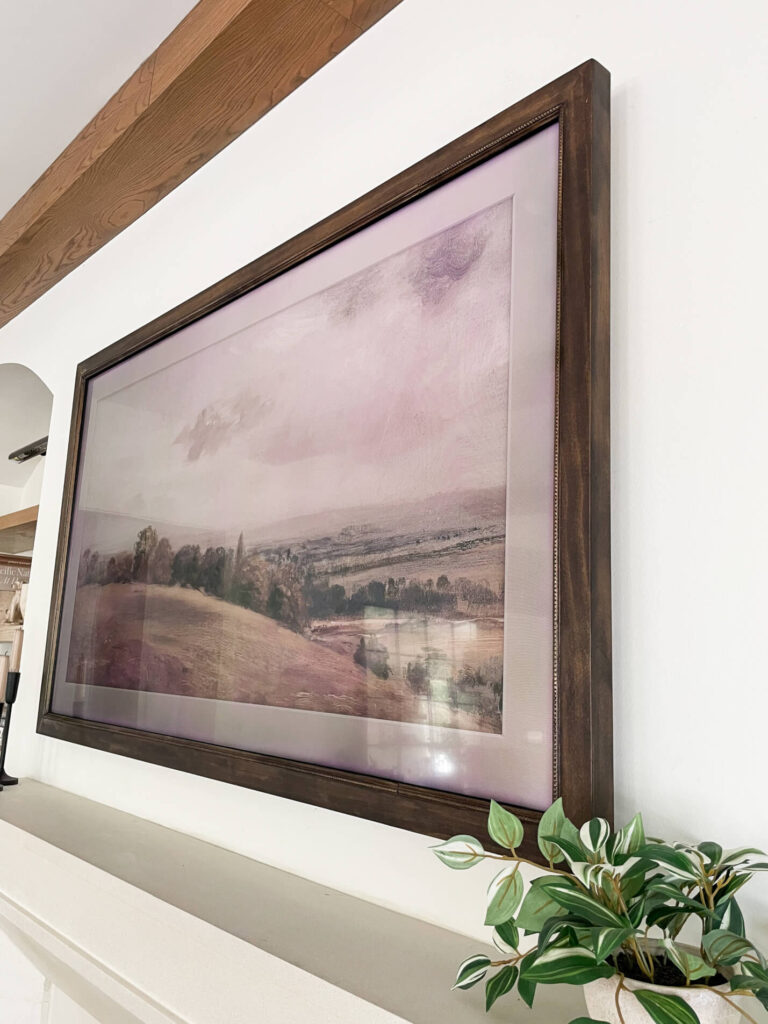
I am so happy with how this little project turned out! I was feeling like something was missing from that wall, and this frame was the perfect solution. Now the TV looks like a beautiful piece of art rather than a big ugly black box above the mantle.
This project should take about two days to complete, because of the drying times for the glue and stain, but it’s easy and the results are definitely worth it!
Let me know if you give it a try.
BY:
Share it:
Comments Off on Step-By-Step: How to Create a DIY TV Frame (Samsung Frame TV)